Are you looking to harness the power of the sun? Many people want to find sustainable energy solutions. Exploring the question of how to convert a standard charger to solar power is a great start. This guide will take you through practical steps, helping you gain the knowledge you need.
Solar energy is clean, renewable, and increasingly accessible. Converting your existing charger can reduce your carbon footprint. It may seem daunting, but with the right tools and insights, it becomes manageable. Understanding the components involved is crucial for this DIY project. You might discover you'll encounter challenges along the way; that's part of the learning process.
Consider the costs versus benefits before diving in. There’s a sense of accomplishment in creating your own solar charger. However, make sure to research thoroughly to avoid mistakes. Solar energy may not be a one-size-fits-all solution, but it’s worth exploring. By understanding how to convert a standard charger to solar power, you are contributing to a greener future.
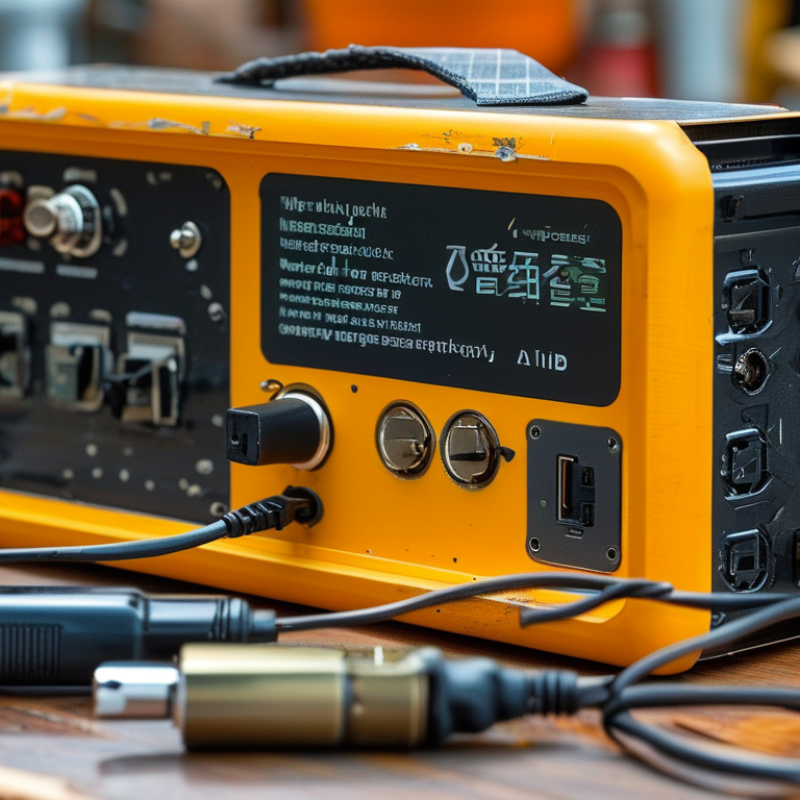
Converting your standard charger to solar power can seem daunting, but understanding the basics makes it more accessible. Solar power harnesses sunlight and turns it into usable energy. It utilizes solar panels to capture sunlight and inverters to convert the energy for charging devices. This is a reliable and sustainable option for those looking to reduce their carbon footprint.
When considering this conversion, ensure you select the right solar panel. Aim for a panel that matches your charger's voltage and output. An ideal solar panel should have a good power rating, typically between 20 and 50 watts. This ensures that the energy produced meets your charging needs.
Tips: Do not rush the installation process. Take your time to understand wiring and connections. Mistakes can lead to inefficiency or damage. Regularly check for debris on your solar panel to maintain its efficiency. Additionally, keep your charging device connected only when needed to optimize power use. Balancing efficiency and convenience is critical in this conversion.
When selecting a solar panel for your standard charger,
compatibility is key. Not all solar panels are created equal, and they have different voltage outputs.
If your charger requires a specific voltage, ensure the solar panel matches that requirement. Do some
research to understand the voltage range your device operates within. This step is crucial to
prevent damage to your charger.
Consider the wattage of the solar panel. Higher wattage means faster charging, but it
must still align with your charger's capacity. Too much wattage can overwhelm your charger, leading to
issues. It’s wise to choose a panel that fits well with your usage. Bigger isn’t always better; sometimes,
a smaller panel works just fine.
Take note of size and portability as well. Larger
panels may yield more power, but they can be cumbersome. If you're on the go, a compact panel is more
practical. Additionally, look for durable materials that withstand outdoor elements. This might cost more
upfront, yet it saves money on replacements. Reflect on your charging needs,
and you will find the solar solution that works best for you.
Creating a DIY solar charger is an exciting project that can benefit your electronics and the environment. To convert a standard charger to solar power, you need a few essential tools and materials. Start with solar panels. These capture sunlight and convert it to electricity. Choose panels rated for at least 5-20 watts. Remember, higher wattage means faster charging.
You'll also need a charge controller. This device prevents overcharging your devices and keeps the system stable. Battery packs are crucial too. They store energy for cloudy days. Look for lithium-ion batteries, as they offer reliability and longevity. Connecting wires, a multimeter for testing, and a sturdy case to house your components are other important materials.
**Tips**: Ensure connections are secure. Loose wires can lead to energy loss. A clean workspace can minimize errors. Solar panels should be placed where they receive maximum sunlight. Research reliable sources to understand installation properly. Many people notice their attempts might not work perfectly on the first try. Testing and troubleshooting can be part of the learning process in this journey toward sustainable energy.
| Item | Description | Quantity | Estimated Cost ($) |
|---|---|---|---|
| Solar Panel | Converts sunlight into electricity | 1 | 50 |
| Charge Controller | Regulates the voltage and current coming from the solar panels | 1 | 20 |
| Battery | Stores electrical energy for later use | 1 | 30 |
| USB Ports | For connecting your devices for charging | 2 | 10 |
| Wiring | Connects all components together | As needed | 5 |
| Soldering Kit | For making electrical connections | 1 | 15 |
| Enclosure | Protects the components from damage | 1 | 25 |
Converting your standard charger to solar power can be an exciting project. It’s a step towards sustainability and self-sufficiency. This guide will help you modify your charger, ensuring it functions well with solar energy.
Gathering the right materials is essential. Start with a solar panel that matches the voltage of your charger. Connect the solar panel to a charge controller to regulate power. This controller prevents overcharging and protects your devices.
Tips: Always check the compatibility of your solar panel with your charger. Mismatched voltages can damage your equipment. Also, ensure all connections are secure. Loose connections can lead to energy loss.
Next, modify the charger outlet. Remove the standard outlet and replace it with the output from the charge controller. This step might require basic soldering skills. If you're unsure, seek help from someone experienced. It's vital to follow safety guidelines to avoid accidents.
Tips: Test your setup with a multimeter before connecting devices. This practice helps in detecting any issues early. Monitor your charger's performance over time. If it doesn’t work reliably, consider revisiting your wiring. Adjustments may be necessary.
The chart above illustrates the charging efficiency of a converted solar charger at different times throughout the day. As seen, the efficiency peaks at noon, making it the optimal time for solar charging.
Testing your new solar-powered charger involves several critical steps. Start by assessing the solar panel's exposure to sunlight. An optimal position can boost efficiency by over 30%, according to research from the National Renewable Energy Laboratory (NREL). Ensure it faces the sun at the right angle. This adjustment seems minor but can dramatically affect performance.
Next, test charging times with various devices. Results can vary based on environmental conditions and the device’s battery capacity. For instance, a typical smartphone can take between two to five hours to charge completely in perfect conditions. Yet, cloudy days might extend this time significantly. Track different charging times and temperatures. Such data can help optimize usage in real scenarios.
Don’t forget about durability. Extreme temperatures may impact the efficiency of your solar charger. The International Energy Agency (IEA) suggests that prolonged exposure to high heat can reduce solar panel lifespan by up to 25%. Regularly inspect your setup for wear and tear. Monitoring these factors can lead to better performance and longevity of your solar-powered system.
: Solar power captures sunlight and converts it into usable energy.
Select a panel matching your charger's voltage and output for optimal performance.
Higher wattage leads to faster charging, but it must fit your charger's capacity to avoid damage.
Regularly check for debris and clean it to maintain efficiency.
You'll need a compatible solar panel, a charge controller, and basic tools for modification.
Follow safety guidelines, secure all connections, and consider seeking help if unsure about soldering.
Testing with a multimeter helps detect issues early, ensuring reliable performance.
Monitor performance and revisit your wiring. Adjustments may be necessary for optimal functioning.
Yes, if you need to move your setup, a compact panel is more practical and convenient.
This article, "How to Convert Your Standard Charger to Solar Power Easily," provides a comprehensive guide for those interested in sustainable energy solutions. It begins with an overview of solar power fundamentals essential for converting chargers, making it accessible for beginners. The selection of appropriate solar panels is emphasized to ensure compatibility with your existing charger, guiding readers through the necessary tools and materials required for a successful DIY project.
The main section presents a detailed, step-by-step process on how to convert a standard charger to solar power, offering practical tips for modification. Lastly, the article discusses how to test and optimize the newly converted solar-powered charger to ensure efficient performance. By following these guidelines, readers can embrace renewable energy and contribute to a greener future.

NexBolt Charger