How to reset a smart battery charger is not a universal button sequence. The right procedure depends on the charger’s model, battery chemistry, and fault code. A reset may clear a temporary error, but it cannot repair a damaged battery or poor connection. Check the manufacturer’s manual before unplugging or reconnecting the clamps.
Battery University, a technical resource founded by battery expert Isidor Buchmann, gives lead-acid charging guidance of roughly 2.30–2.45 volts per cell, depending on charging stage and battery design. That range shows why chemistry and settings matter; it is not a target for every charger. Buchmann’s useful reminder is: “A battery is like a human; it needs rest after a strenuous activity.” Let it cool when the manual calls for it.
For a basic reset, switch off and unplug the charger, then disconnect the clamps in the sequence specified by its manufacturer. Wait briefly, inspect the terminals and cables, and reconnect only after confirming the battery type and polarity. Small details matter. A loose clamp can look like a charger fault. So can an incorrect mode.
If the same warning returns, stop resetting and identify the fault code. Repeated resets can hide a real problem, and I would not treat a cleared screen as proof of a healthy battery. A reliable guide to How to reset a smart battery charger should pair each step with the model’s instructions, observable checks, and a clear point at which to seek qualified service.
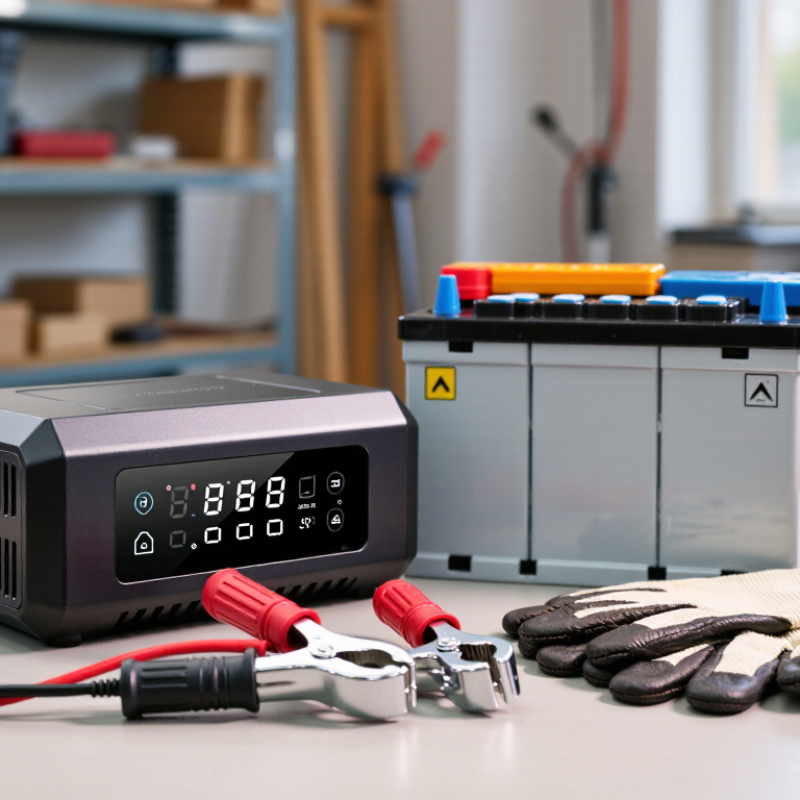
How to Reset a Smart Battery Charger?
Identify the Charger Model and Review Its Reset Instructions
Before resetting a smart battery charger, identify its exact model and battery type. Check the label on the case, often near the power cord or underside. Record the model number, input voltage, and supported chemistry, such as lead-acid or lithium-ion. Similar-looking chargers can use different reset sequences. A reset may also clear saved charging settings, so do not assume it is harmless.
Find the manual for that model and look for “reset,” “fault recovery,” or “power cycle.” Follow its stated sequence, including any required wait time. The IEA’s Global EV Outlook 2024 reports nearly 14 million electric cars sold in 2023, about 18% of global car sales. That growth highlights the variety of charging equipment; it does not make reset procedures interchangeable. If the manual is missing, use the manufacturer’s official support materials rather than guessing. A blinking light is a clue, not a diagnosis.
Tips: Unplug the charger before inspecting it, keep the battery disconnected if the manual directs, and note error codes first. I still think this step is easy to rush. Pause, verify the model, then reset only as instructed.
| Charger Type | How to Identify It | Typical Reset Procedure | How to Check the Reset | Important Safety Notes |
|---|---|---|---|---|
| Automatic 12 V lead-acid charger | The rating label lists a 12 V output and a lead-acid battery type, such as flooded, AGM, or gel. | Disconnect the charger from AC power. Remove the clamps from the battery, wait about 30 seconds, then reconnect the clamps with the correct polarity and restore AC power. Select the battery type again if needed. | The display or indicator returns to standby, then shows charging after the clamps are connected correctly. | Use only a charging mode approved for the battery. Do not use an equalization mode on a battery unless its instructions specifically allow it. |
| Automatic 24 V lead-acid charger | The output rating identifies a 24 V system, commonly used with a compatible 24 V battery bank. | Switch off and unplug the charger. Disconnect its battery leads, wait about 30 seconds, and reconnect them as directed by the charger manual. Restart the charger and confirm the 24 V setting if the unit has selectable voltage. | The unit recognizes the battery bank and begins its normal charging sequence without a voltage or connection warning. | Confirm that the battery bank and charger have matching voltage. Never connect a 24 V charger to a 12 V battery system. |
| Multi-chemistry charger with a digital display | The screen or selector offers battery profiles such as lead-acid and lithium; the exact options vary by model. | Unplug the charger and disconnect the battery. Wait at least 30 seconds, reconnect according to the manual, and select the correct chemistry and voltage before starting a new charge. | The selected profile appears on the display and no incompatible-battery or setup warning is shown. | Use a lithium profile only when the battery manufacturer and charger instructions confirm compatibility. A reset does not change battery chemistry. |
| Charger with a reset button or menu option | The control panel or manual explicitly identifies a reset, restart, or factory-reset function. | Follow the model-specific instructions. A restart may clear a temporary fault; a factory reset may erase saved settings. If no reset procedure is documented, use the power-cycle method rather than guessing a button combination. | The display returns to its normal startup screen. Re-enter any required battery type, voltage, or charging settings. | Do not assume that holding a button has the same effect on every charger. Check whether the procedure resets settings or only restarts the unit. |
| Charger with a communication or temperature fault | The unit shows a sensor, temperature, communication, or battery-detection warning, or stops before charging begins. | Unplug the charger and allow it to cool if it is warm. Check the cable connections and any permitted sensor connection, then restart it using the manual’s procedure. | The warning clears and the charger identifies the battery correctly. If the fault returns, the issue may require testing rather than another reset. | Do not bypass a temperature sensor, protective circuit, or other safety feature. Stop using damaged cables or equipment. |
Check the charger’s case label for its exact model, input voltage, and supported battery chemistry. Read the matching manual. Similar chargers may use different reset steps.
Note any error codes and review the manual’s reset or fault-recovery instructions. A blinking light is only a clue, not a diagnosis.
Yes. Unplug it from the wall, then disconnect the battery leads as directed. Keep the clamps apart and away from metal. Wait several minutes.
Stop if the battery is swollen, cracked, leaking, unusually hot, or connected to damaged cables. Seek qualified service. A reset is not a repair.
With the charger unplugged, follow the manual’s polarity instructions. Red usually connects to positive; black connects to negative or a specified grounding point. Check carefully.
Yes. A loose connection can prevent detection, even if the terminals look clean. If they are corroded, follow the battery maker’s cleaning guidance.
Restore AC power only after the battery connections are secure and polarity is confirmed. Use a suitable outlet and watch the display or status light.
Unplug it before checking the connections. If the fault repeats, stop resetting it and have the charger and battery checked. Repeated resets can hide a problem.
No. It may clear saved charging settings, and the correct procedure depends on the model. I still think this step is easy to rush.
How to reset a smart battery charger starts with identifying the charger model and checking its own instructions, since reset procedures can differ. Before handling connections, switch off and unplug the charger from AC power. Then safely isolate the battery, following the equipment guidance and taking care to avoid contact with terminals or damaged cables.
Perform only the reset procedure recommended for that charger; this may involve a reset control or a specific power-off sequence. Once the reset is complete, reconnect the battery securely and restore AC power. Observe the charger as it starts up, and confirm that its display or indicators show normal charging rather than a fault. If an error remains, stop and consult the charger’s instructions before trying another procedure. This careful sequence can help distinguish a temporary charging issue from a connection problem or condition that needs further attention.

 NexBolt Charger