Installing an on-board charger for your electric boat can seem daunting. However, it is a necessary step for maintaining your vessel's efficiency. Knowing how to install an on-board charger for an electric boat allows you to keep your battery charged and extend your time on the water.
When exploring this process, understanding the basics of electrical systems is crucial. Choose a charger that matches your boat's battery types and sizes. It’s important to consider safety measures to avoid electrical hazards. Every boat has unique requirements, and a one-size-fits-all approach won’t work. Sometimes mistakes can happen, leading to frustrating outcomes.
Reflecting on past experiences can help in avoiding potential pitfalls. Read manufacturer guidelines and seek expert advice if unsure. This approach enhances your confidence and builds your skills. A successful installation means more enjoyable days on the water and a reliable energy source.
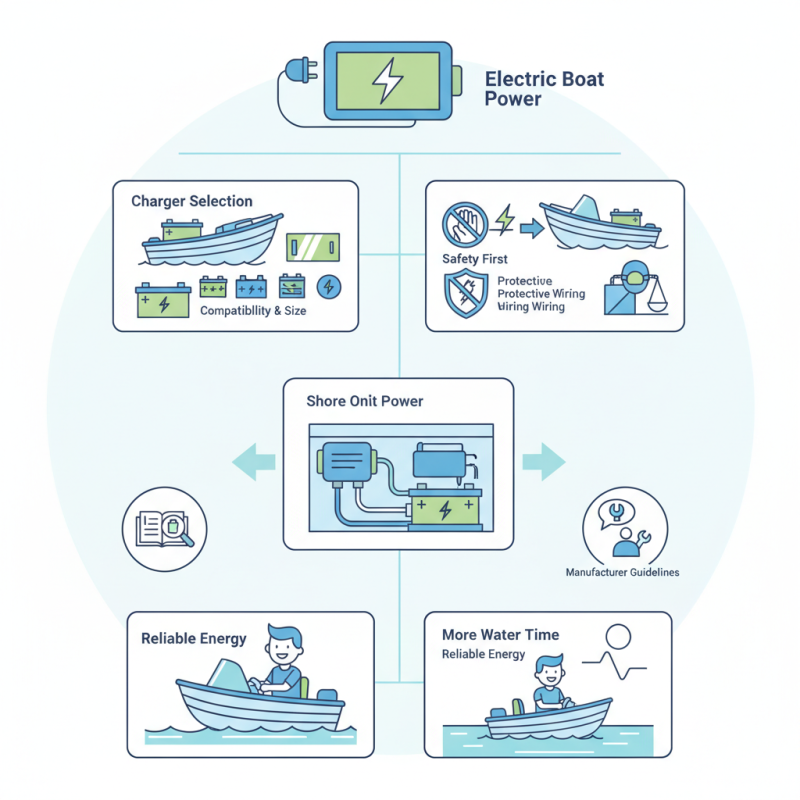
On-board chargers play a vital role in enhancing the efficiency of electric boats. They convert AC power from shore connections to DC power, necessary for charging batteries. A well-installed on-board charger ensures your boat operates at optimal performance and extends battery life. It's crucial to choose a charger that matches your battery type and capacity. Compatibility is key to avoid potential damage and inefficiencies.
The benefits of these chargers are numerous. They provide convenience for boaters who rely on electric power. Many spend hours on water, and a dependable charging system keeps you on the move. However, installation can be tricky. Some users make mistakes, like improper wiring or selecting incompatible chargers. These errors can lead to safety hazards or damage. Understanding the specifications of your watercraft can help mitigate these risks.
Regular maintenance of the on-board charger is also essential. Check connections and ensure no corrosion. Neglecting these aspects can lead to performance issues. Invariably, this can affect your boating experience. Embracing the details in installation and upkeep can significantly impact your electric boating journey.
| Feature | Description | Benefits |
|---|---|---|
| Charging Efficiency | Converts AC power from shore to DC power for the battery. | Reduces charging time and improves battery lifespan. |
| Battery Management System (BMS) | Monitors battery health and charging cycles. | Prevents overcharging and increases safety. |
| Size and Weight | Compact and lightweight designs available. | Easy installation and minimal impact on boat performance. |
| Compatibility | Works with various battery types and voltages. | Versatility for different electric boat models. |
| Weather Resistance | Designed to withstand marine environments. | Ensures durability and long-term reliability. |
| Smart Features | Includes digital displays and remote monitoring. | Enhances user experience and charging control. |
: You will need a drill, mounting hardware, and electrical cables.
Choose a dry, well-ventilated location, avoiding areas with direct water exposure.
Mark the mounting holes carefully, drill them, and attach the charger level and stable.
Double-check all connections to avoid issues later and prevent mistakes.
Use a multimeter to check voltage output regularly as part of your maintenance routine.
Regular maintenance prevents potential issues and ensures efficient operation on the water.
Corrosion can hinder the flow of electricity, leading to inefficient charging.
It's easy to misplace connections; always verify with expert resources if unsure.
Keep the charger clean and store the boat in a dry place during the off-season.
Reassess your installation; it may take a few tries to get everything right.
In the article "How to Install an On-Board Charger for Your Electric Boat," readers are guided through the essential aspects of integrating a charger into their vessel. It begins by explaining the purpose and benefits of on-board chargers, highlighting how they enhance the efficiency and convenience of electric boating. The article then lists the necessary tools and materials needed for a successful installation.
Following this, a detailed step-by-step guide walks users through the process of mounting the charger securely within the boat. Safety is emphasized in the section dedicated to connecting the electrical components, ensuring a reliable setup. Finally, the article covers the importance of testing and maintaining the on-board charger post-installation, providing readers with valuable insights on how to keep their electric boat running smoothly. This comprehensive guide answers the critical question of how to install an on-board charger for an electric boat effectively.
